使用前注意事项
1.在 docs/.vuepress 目录下的config.js,如果资源链接没有问题的话可以不用修改,base保持默认即可,貌似新版vuepress针对该问题做了优化处理。
2.你大概率会碰到opensslErrorStack: [ ‘error:03000086:digital envelope routines::initialization error’ ]错误,这是由于新版node.js与vuepress的openssl不兼容导致,
解决方法有:
1.临时解决,设置环境变量(在输入 yarn docs:dev前在操作面板输入即可)
windows下指令
set NODE_OPTIONS=--openssl-legacy-providerlinux下指令
export NODE_OPTIONS=--openssl-legacy-provider
2.降低node.js版本
在下面转载的文章中我按照方法1进行了修改
正式开始(转载)
使用 pnpmopen in new window 时,需要安装
vue和@vuepress/client作为 peer-dependencies ,即pnpm add -D vue @vuepress/client@next然后将 VuePress 安装为本地依赖
pnpm install -D vuepress@next在
package.json中添加一些 scriptsopen in new window{ "scripts": { "docs:dev": "vuepress dev docs", "docs:build": "vuepress build docs" } }编辑
.gitignore文件, 添加临时目录和缓存目录以及dist目录node_modules .temp .cache docs/.vuepress/dist- 在根目录下创建
docs目录然后新建一个README.md文件并随便输入些文字 可以先在本地尝试运行和打包下
pnpm run docs:dev pnpm run dos:build- 在
docs/.vuepress目录下创建config.js
module.exports = {
    // 站点的标题
    title: "VuePressTest",
    // 站点的描述
    description: "This is a blog.",
    // 站点配置, 设置为 /[仓库名]/
    base: '/VuePressTest/',
}
需要注意的是, 这里的 base 务必配置好, 否则之后部署完后可能会出现引入资源找不到的情况
因为默认 base 是
/, 所以如果将站点部署到具体到仓库的子路径的话, 构建的 html 文档中的资源引入链接仍然指向了根目录, 就会 404React/Vue 项目在 GitHub Pages 上部署时资源的路径问题_mob60475707634e的技术博客_51CTO博客open in new window
- 在根目录下新建
.github/workflows/docs.yml'
name: Deploy Docs

on:
  push:
    branches:
      # make sure this is the branch you are using
      - main

jobs:
  deploy-gh-pages:
    runs-on: ubuntu-latest
    steps:
      - name: Checkout
        uses: actions/checkout@v3
        with:
          fetch-depth: 0
          # if your docs needs submodules, uncomment the following line
          # submodules: true

      - name: Setup Node.js environment
        uses: actions/[email protected]
        with:
          # 选择要使用的 node 版本
          node-version: '18'

      - name: Setup pnpm
        uses: pnpm/[email protected]
        with:
          version: 6.0.2


      - name: Install Deps
        run: pnpm install

      - name: Build Docs
        env:
          NODE_OPTIONS: --max_old_space_size=8192
        # 需要注意的是 github pages的jekyll模版会忽略下划线开头的文件
        # 所以要禁用jekyll才能正确加载带下划线的资源
        # 可以通过在项目根目录下创建一个名为 .nojekyll 的空文件来禁用jekyll
        # 关于 -run 和 run | 的区别可参阅:
        # https://stackoverflow.com/questions/59529042/difference-between-run-and-multiple-runs-in-github-actions
        run: |-
      export NODE_OPTIONS=--openssl-legacy-provider
          pnpm run docs:build
          echo > docs/.vuepress/dist/.nojekyll


      # 查看 workflow 的文档来获取更多信息
      # @see https://github.com/crazy-max/ghaction-github-pages
      - name: GitHub Pages
        uses: crazy-max/[email protected]
        with:
          # 部署到 gh-pages 分支
          target_branch: gh-pages
          # 部署目录为 VuePress 的默认输出目录
          build_dir: docs/.vuepress/dist
        env:
          # @see https://docs.github.com/cn/actions/reference/authentication-in-a-workflow#about-the-github_token-secret
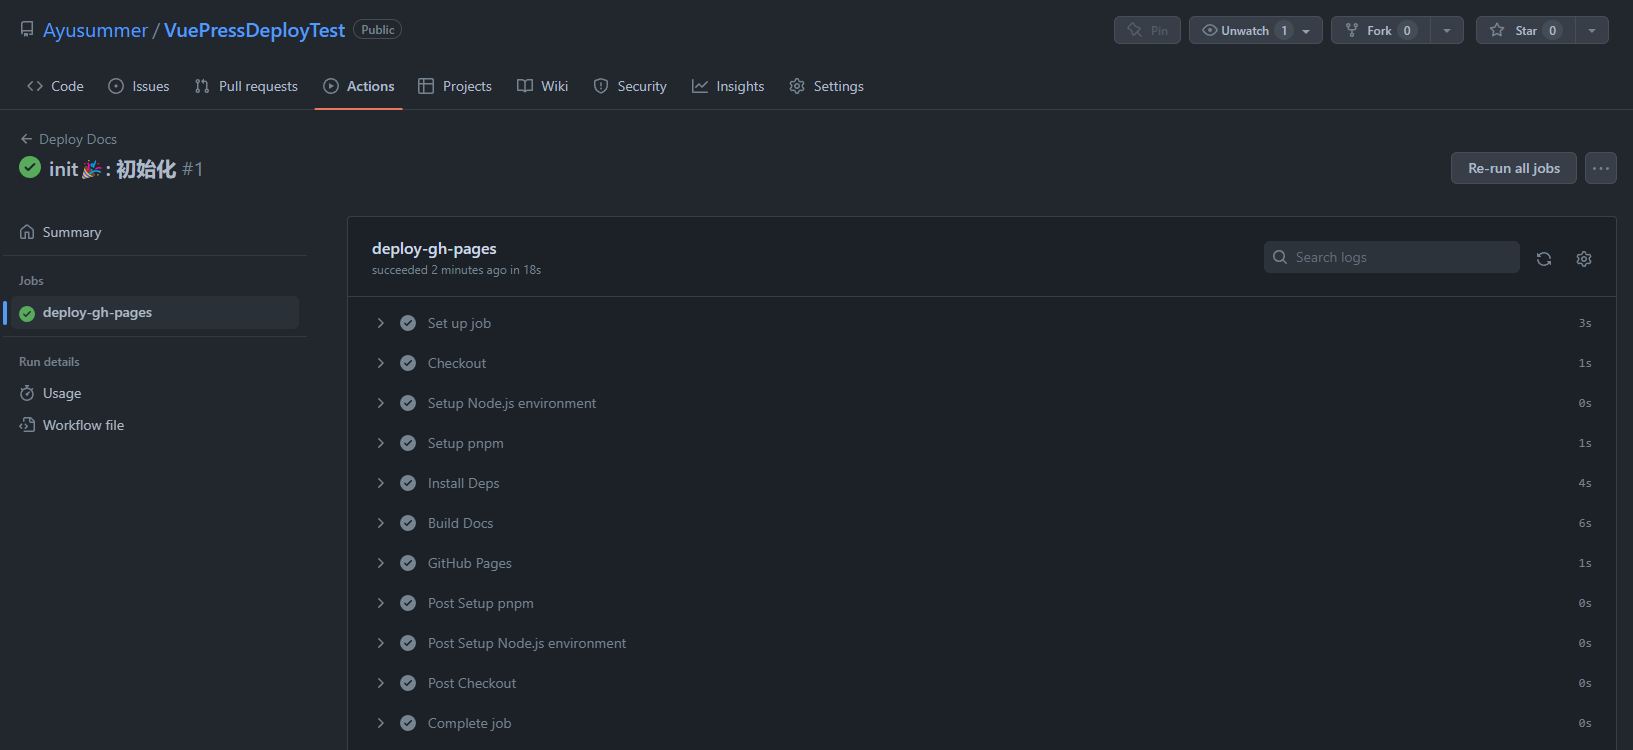
GITHUB_TOKEN: ${{ secrets.GITHUB_TOKEN }}- 提交并推送你的修改, 然后可以在 Github 仓库的 Actions 中查看下运行状态
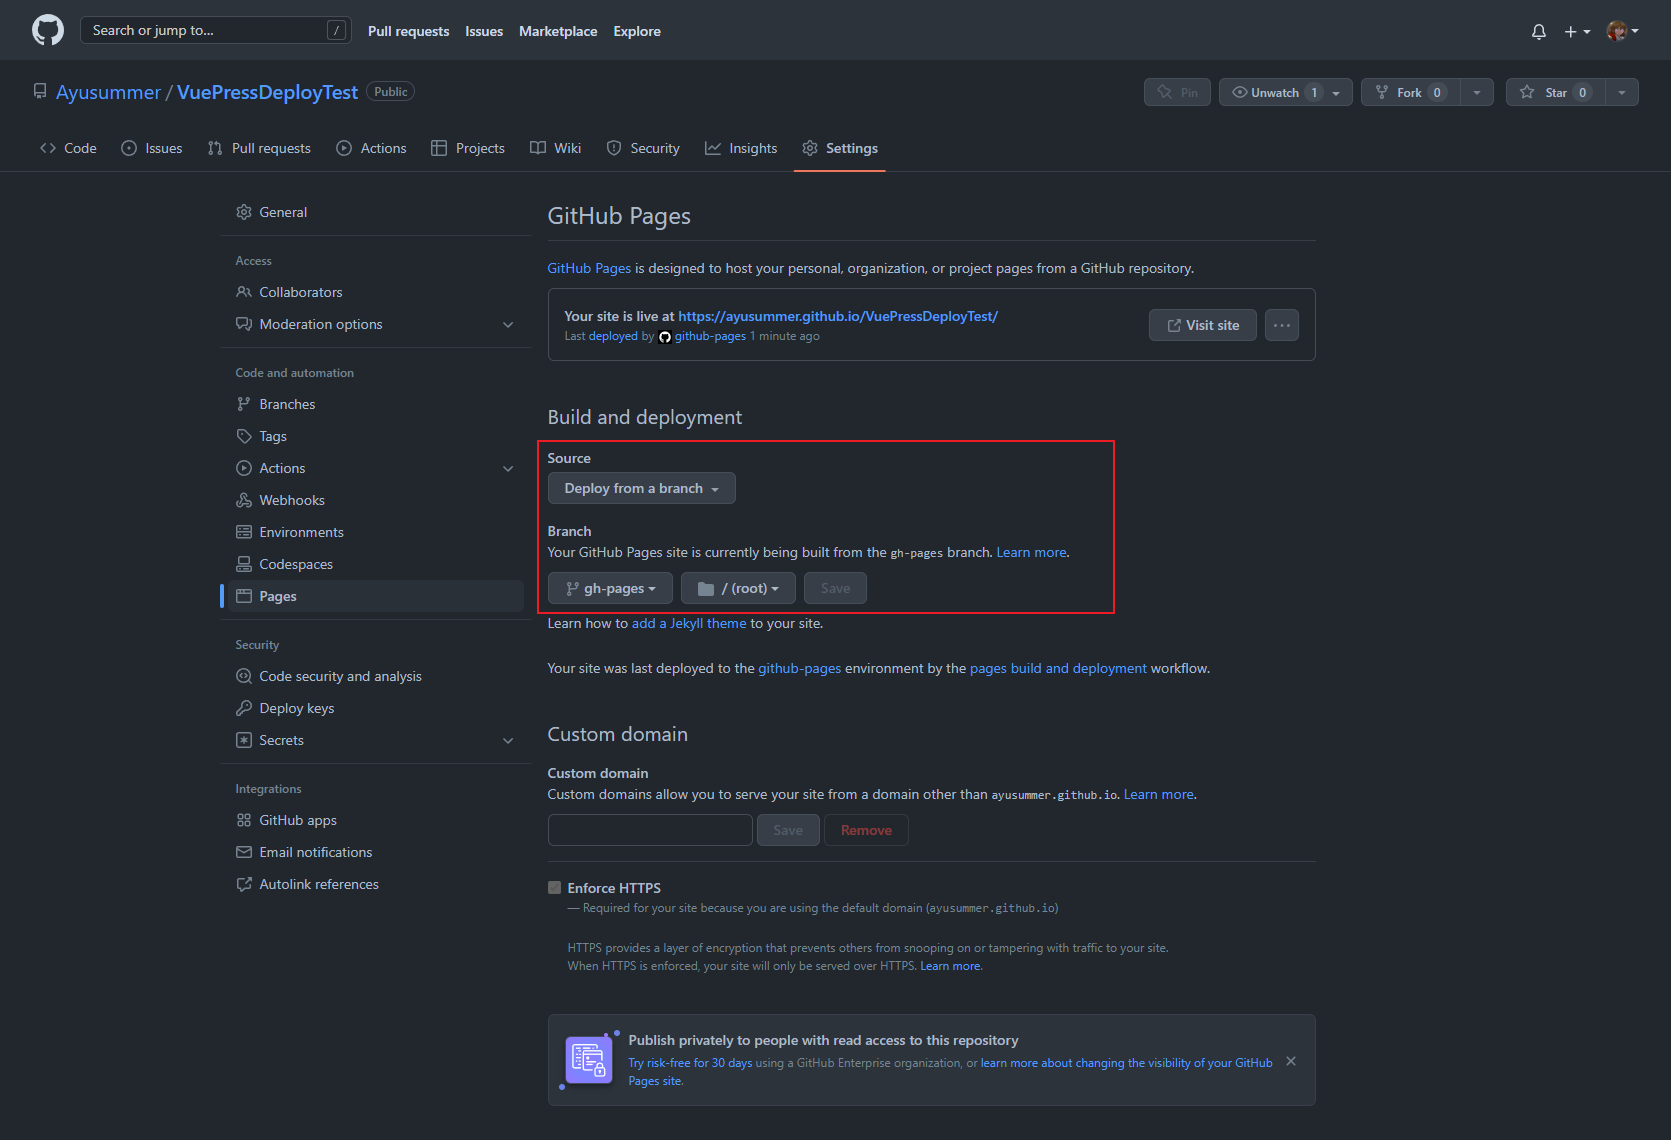
- 打开仓库的
Settings->Pages将BUild and deployment->source修改为Deploy from a branch(默认值就是这个), 然后选择gh-pages->/root并Save
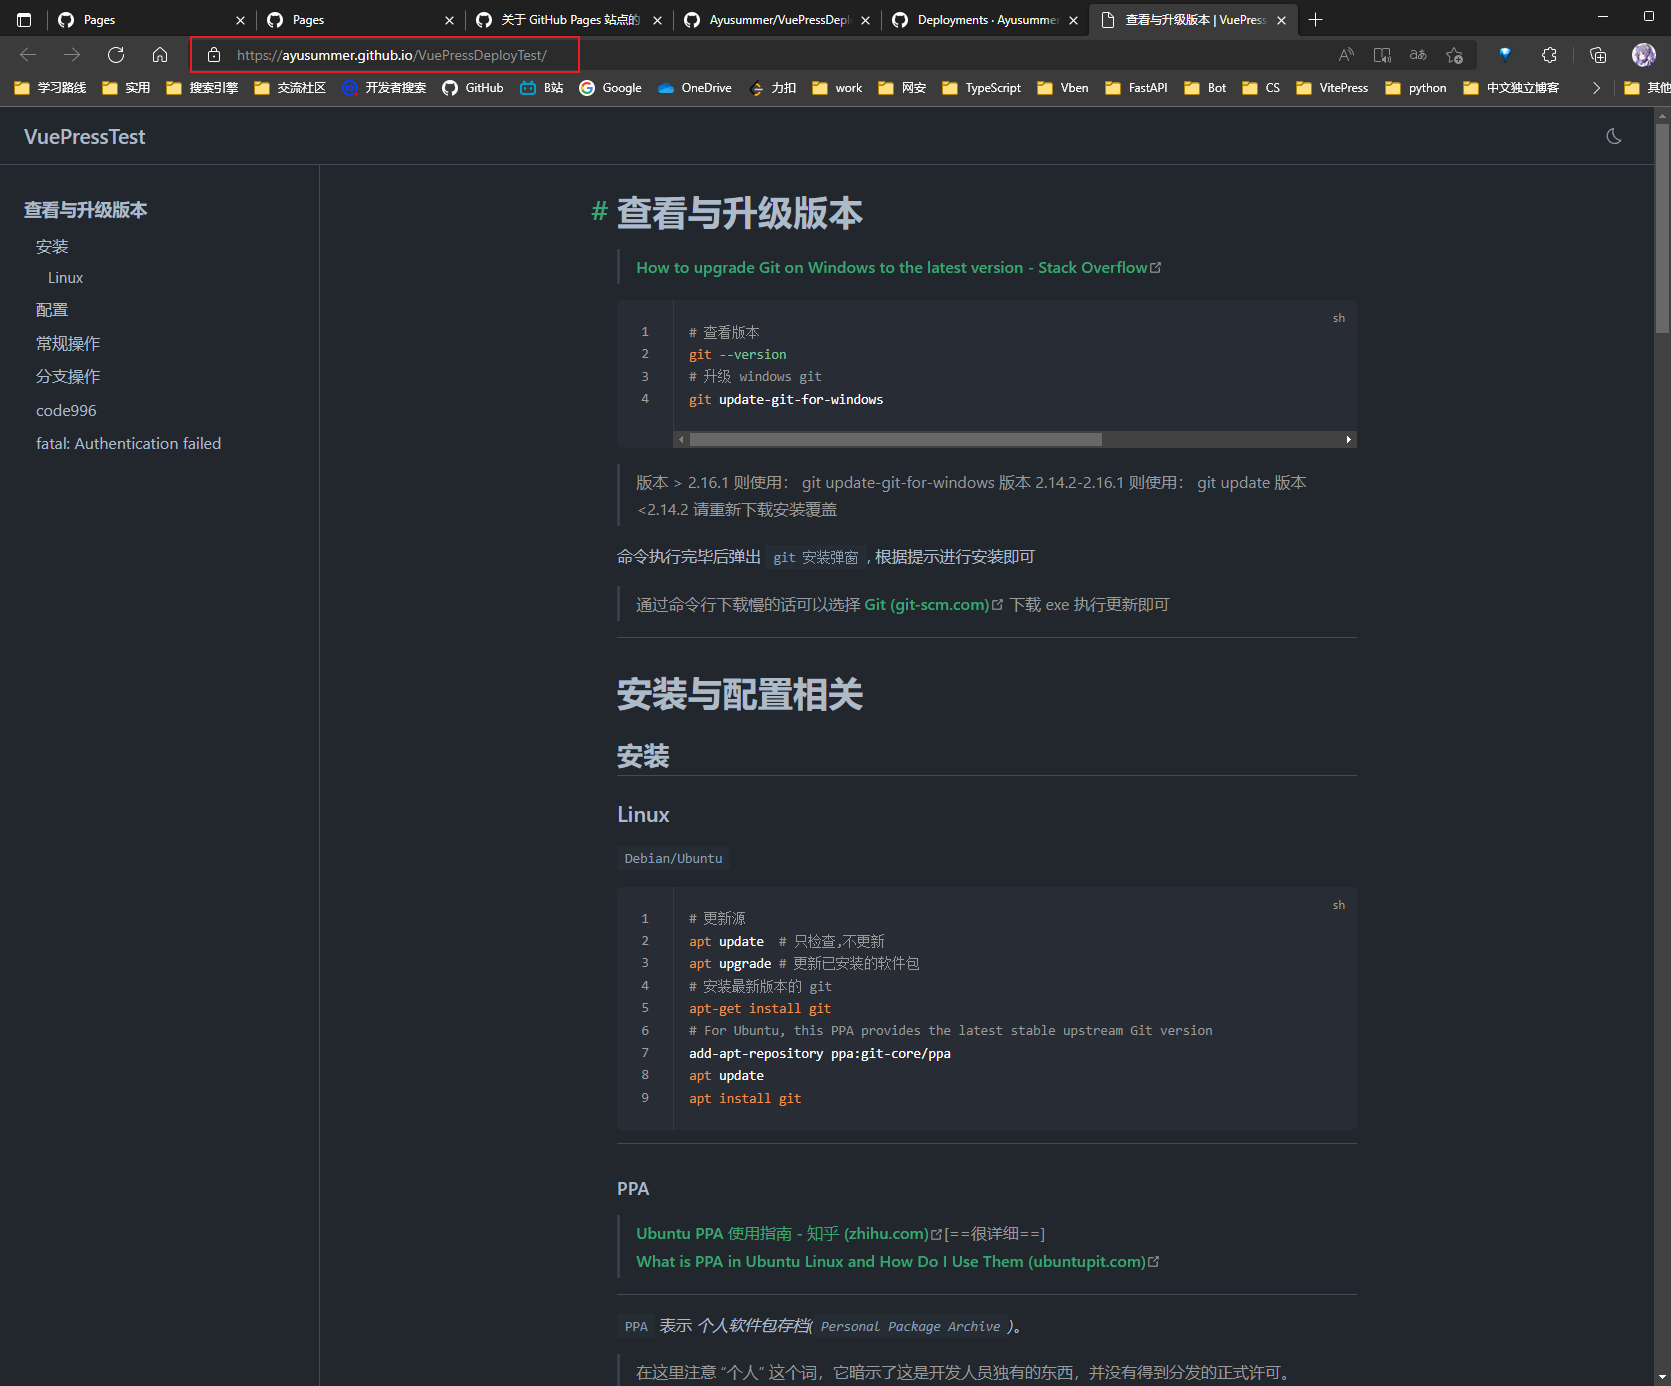
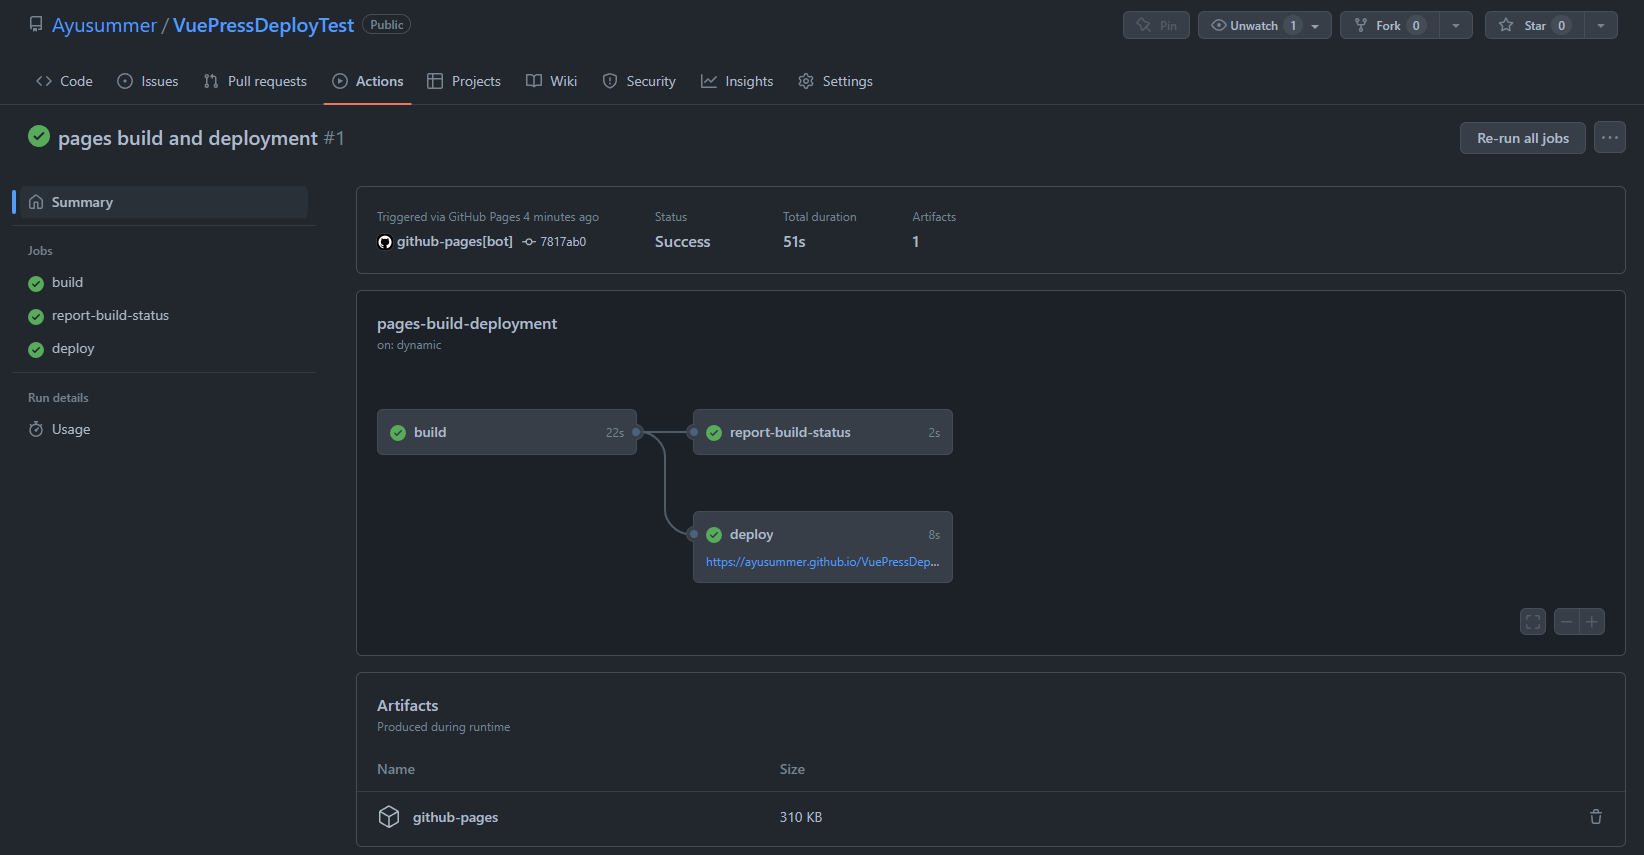
- 然后就可以在
Actions界面看到多了一个 Action
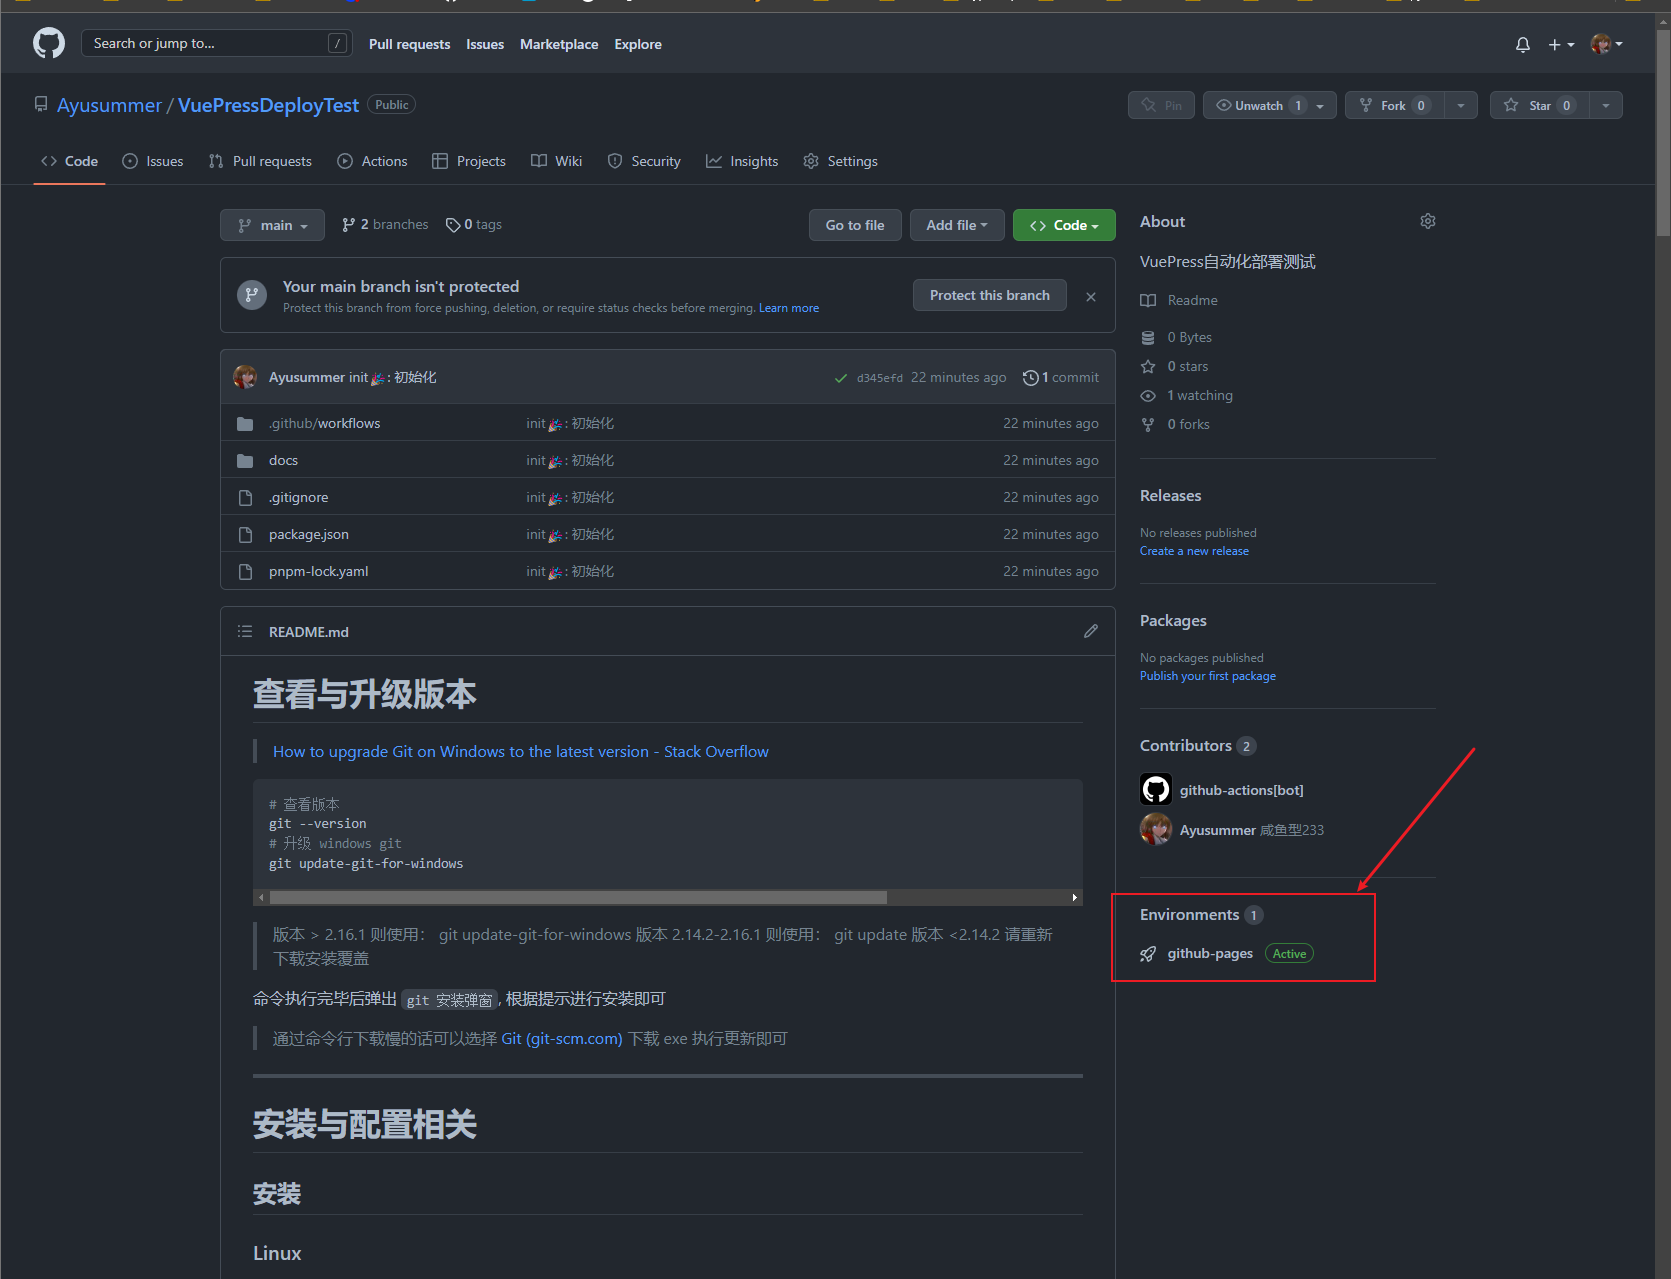
- 仓库主页右下角也会多一个 Environment, 在上一步的 Actions 中可以看到部署链接, 亦可以在此处看到部署链接
